Thursday, June 13, 2019

Keepsake Cards: Repurpose Children's Art

These cards are a nice idea for family members, especially for the grandparents of little ones since they can not seem to get enough of their children's children and their tiny extremities.

KeepsakeCard_Hands

As a person who values practicality, I prefer items with a clear function. However, I am conflicted with my sentimental side who treasures my two four-year-olds' colorful, abstract creations and find myself with stacks like this.


But thanks to inspiration from author and illustrator Eric Carle—who creates beautiful children's books, using a collage technique of painted papers—I can repurpose my stacks of art into crafting projects for the kids. Activities!

Happy 50th anniversary for one of my favorite Eric Carle books, The Very Hungry Caterpillar! We recently celebrated at our local library and got the special anniversary edition (their expressions are "silly," not "disgust"), April 2019.


What you'll need:

  • Colorful cardstock (8.5 x 11 inches)
  • Stacks on stacks of colorful children's art
  • Glue stick
  • Tiny hands and/or feet

What you'll do:
Fold a piece of cardstock twice to make the card small enough to fit in an envelope.

FoldedCardstock
Folded cardstock 

Trace hands and/or feet on papers with colorful children's art. Carefully cut out.

TraceAndCut_HandsAndFeet
Trace and cut

Glue onto card and decorate as you and the kids see fit. For instance, you could go with a simple, tasteful message.

HappyFathersDayCard


Or you could unload the crayons and stickers (or maybe some markers and glitter), and just let the kids go nuts on it.


Success! Now we've made those stacks of art a little smaller (without the guilt of throwing any away) and given a very personalized card to a loved one. Win-win-win.

And don't forget that this can go beyond hands and feet. Cut out simple shapes to create collages of scenes or objects like the great Eric Carle.

Winry (top) and Henry (bottom) made their own caterpillars who are also very hungry, April 2019.


For more ideas...
... on turning children's art into something more functional, consider checking out some of my earlier posts:


(substitute the tissue paper with the artwork)

Friday, June 29, 2018

D.I.Y. First-Aid Travel Kit

Having a first-aid kit for the car is not an idea exclusive to parents, but it definitely did not occur to me to make one until we took our then two-year-olds on a long car trip last summer.

Now, it gives me an extra sense of security every time we go out in the car, and it already paid off when my son scrapped his knee in a parking lot and needed a quick bandage. I felt so prepared and proud!

First-AidKitContents


Contents of my first-aid kit:

  1. Cotton swabs*
  2. Cotton balls*
  3. Bandages*
  4. Adhesive medical tape
  5. Wrapped sterile pads*
  6. Antibiotic cream
  7. Wrapped gauze
  8. Tylenol or some kind of pain reliever**—you never know when a headache will hit.
  9. Benadryl or some kind of antihistamine**—I have a nut allergy and never go anywhere without this stuff.
  10. Small emery boards—honestly, I mostly keep this around because it came with an infant kit, but if you're traveling with infants, it is the only way to deal with overgrown nails.
  11. Nail trimmer—may a hangnail never ruin your day again!
  12. Tweezers
  13. Travel-sized tissues
  14. Floss—when food gets stuck in my teeth, I don't trust anything pointy like a toothpick when in a moving vehicle.
  15. Alcohol wipes—alcohol-free cleansing wipes exist too.
  16. Compact mirror
  17. Small scissors—handy for the gauze and tape
*I like to keep these items in a plastic, sealable bag to ensure they stay dry.
**These are for the 12-year and older crowd (as noted on containers). And be mindful of expiration dates.

All of these items fit easily in a small travel bag that can go in my car's glove compartment, my purse or a diaper bag.


NOTE: Some items, like the creams and pills, have instructions to be stored in specific temperature ranges and are not ideal to be left in the car all year round.

A few other items to consider:
  1. Hand sanitizer—I keep a small container in my purse instead.
  2. Hydrocortisone cream—for bug bites, poison ivy, etc.
  3. Instant cold packs—many stores sell these in larger, more expensive quantities. But I believe there is a 2-pack available at Target, and it will soon join my kit.
  4. Disposable sterile gloves
  5. Safety pins
  6. Digital thermometer
Feel free to comment below with other items you would consider adding.


Having this first-aid travel kit made my kids' first trip to the beach last year a much more enjoyable one. May it make all of your trips less stressful and more enjoyable as well!

FirstBeachTrip_WinryHenry
Winry and Henry's first beach trip, July 2017

FirstBeachTrip_Winry
She's got all the 'tude... and a (plastic) knife!
FirstBeachTrip_Henry
Smelling his sand toes?


Friday, June 15, 2018

Sensibly Saving Sentiment: Repurpose Children's Drawings


Even though my twin toddlers' drawings are more on the abstract side, they're colorful and joyous, and I cannot bring myself to throw them out.


Instead, I repurpose them in a variety of projects. Here are just a few repurposing ideas:


Filling in the Difference When Framing

I used to work in custom framing, so I appreciate a good mat board, but I don't mind a simple substitute when it concerns smaller, tabletop photo frames.

Photo of my dad and me sometime in the 90s

Since my photo was not quite the right size for this frame, I simply cut the paper of my child's drawing to fit the frame and centered the photo to the paper with photo corners.*

*I recommend using acid-free photo corners or acid-free tape. Anything that's not acid-free will eat away at the photo over time. To go that extra step, you could even have your child draw on paper that you know is acid-free.


Fold Them Up into Decorations

I love using origami to decorate the house for my kids' birthday or holidays. Last year, we had a butterfly birthday theme, but what's great is that I can now use those butterflies as decorations every spring (special thank you to my mother-in-law and sister-in-law for making all of these beautiful butterflies and to my mother for sparking my love of origami)!

folded butterfly
Instructions for this butterfly can be found here.

I even made an origami kusudama flower to add to the springtime fun.


What is neat about these is you can make a single flower (one piece of paper is used per petal) or a flower ball out of several flowers.

kusudama flower ball
Photo and instruction from this blog.

I'm slowly working my way up to making a flower ball of my own. This example used two 6-petal flowers and ten 5-petal flowers.

(6x2) + (5x10) = 62 pieces of paper

I have the paper. I just need the time.


When in Doubt, Mod Podge

My children's first drawings were used for this DIY lap desk.


I recently used Mod Podge to cover these old baking pans for a future DIY project.


For this project, I ripped up the paper into various shapes and sizes. Then I glued them to the surface with a cut piece of sponge and Mod Podge (be sure to overlap them). After it dries, apply one final coat of Mod Podge as a finish.


Glass ornaments are another ideal, smooth surface for this application.

mod podge ornaments

If you don't have any to spare, consider seeking some inexpensive ones out at a thrift store or waiting until after Christmas to get highly discounted ornaments at a place like Michael's or Target (that's what I did).


Decorate a Mason jar.


I use a small jar to hold my children's spoons. I didn't want to cover the whole jar because I love having the colors of the spoons show through, so I just decorated it with a small heart.

First, draw the heart on with an erasable marker. Then draw the heart again on the inside of the jar, using the heart you just drew as a template (it's too hard to draw the heart on the inside straight away). Erase the marker on the outside.


Tear one edge of the paper to match the outside edges of the heart. Use smaller pieces of paper to fill in any gaps left after focusing on the edge.

Wipe away excess Mod Podge from around the shape with a damp cloth before it dries on the glass. And don't forget to reapply one final coat of the Mod Podge after the pieces of paper are all applied and dry (of course, wipe away the excess Mod Podge again if necessary).


Add a little glitter glue or puffy paint as a finishing touch.

Monday, April 30, 2018

Photo Recreation for Mother's/Father's Day

Very few things can make you appreciate the loving lengths your parents went through than having a baby (or two) of your own.

As a sentimental idea for Mother's Day and Father's Day, I thought I would recreate some of my favorite parent and child photos from my days of all that free food, love and protection.


You don't have to match the clothes or setting exactly. What's more important is trying to get a similar camera angle and composition and to capture some of that sweet sentiment between parent and child.


HAPPY MOTHER'S DAY!

MothersDay_ThenAndNow
Mom and me, 1986(ish); Winry and me, April 2018

What I love most about the photo with my mom and me was the look of wonder and enthusiasm my mom had for whatever it was that was capturing my attention. She has always been a source of encouragement and support that I hope to live up to for my daughter and son.


HAPPY FATHER'S DAY!

FathersDay_ThenAndNow
Dad and me, 1984; Henry and me, April 2018

I may only be a baby in the photo with my dad compared to my toddler son with me, but the sentiment of comfort and love is still there. My dad has always looked out for me and been available as a guide whenever needed. I hope my children always feel as loved and protected as they do in a moment of couch snuggles.


Me and Kids at State Botanical Gardens
Me with my hands full at the State Botanical Gardens, April 2018

My twins are toddlers now, and the most common response I receive from others is some variation of "Wow—you must have your hands full."

Yes—yes, I do. But I like to describe parenthood as such: it is the best thing you'd ever be willing to be so exhausted for.

I just hope my parents were happy to be so exhausted for my brother and me because I'm sure no baby, toddler or kid has ever made it easy for their parents and has always taken it for granted.

So thank you, Mom and Dad. I love you.

Sunday, April 15, 2018

Apple Cinnamon Spinach Smoothie Pops

This recipe makes for an excellent smoothie for anyone and a yummy, frozen treat for little ones. And since it can be tricky to get toddlers to eat vegetables, this is an ideal way to sneak some in.


The original recipe was from a Kroger flyer and was called the Antioxidant Power Smoothie. I altered the recipe a little and decided to name it after the taste and ingredients: Apple Cinnamon Spinach Smoothie (Pops).

Ingredients

INGREDIENTS
  • 3 cups baby spinach
  • 1 ripe banana, broken into pieces
  • 1 apple, cored and coarsely chopped
  • ½ cup frozen blueberries*
  • ½ cup vanilla yogurt
  • 1 tablespoon ground flax seeds
  • 1 teaspoon cinnamon
  • 1-½ cups unsweetened almond milk**
*Frozen mixed berries or pitted cherries can be used as an alternative to blueberries.
**The original recipe calls for water or canned coconut water. I prefer unsweetened almond milk.


INSTRUCTIONS

Blend all ingredients together. Pour into a frozen pop container. Freeze. Enjoy.

IngredientsInBlendersmoothiePopContainer


Or keep it out of the freezer, and sip on a delicious smoothie.

appleCinnamonSpinachSmoothie


And here are those smoothie pop faces I love so much:


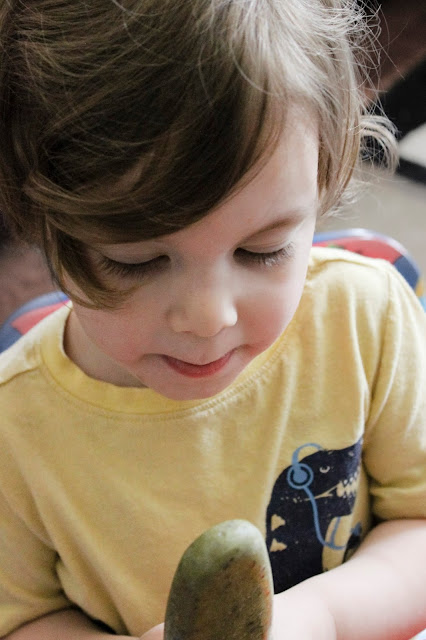
Winry, April 2018


Wednesday, April 4, 2018

DIY Egg Shakers: A Post-Easter Shake-Up


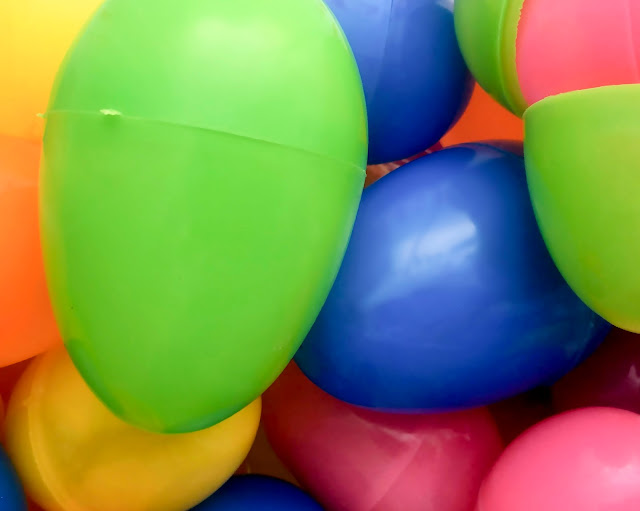
What do you do with your plastic eggs once Easter is over?


plasticEasterEggs


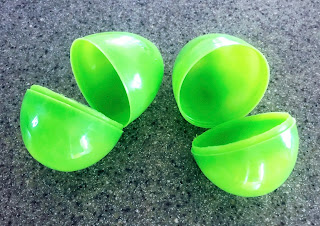
I typically reuse mine. But I have a couple of trouble-maker eggs that won't stay shut and would otherwise have been thrown away.
PlasticEggs_OpenedfromEasterEggToEggShaker


Thanks to a suggestion from an online parenting group, I am turning them into egg shakers for the kids.


EggShaker_Supplies
Supplies

What you’ll need:
  • Plastic Easter eggs
  • Dried, uncooked rice and/or beans
  • Super glue*
*Due to its super adhesive properties, this should only be used by the adults.
  • Mod Podge
  • A sponge cut in strips
  • A bunch of colorful tissue paper


What you’ll do:
Fill each egg with about 1 tablespoon of the rice and/or beans. I used white rice for one and lentils for the other.

TablespoonOfRiceForEggTablespoonOfLentilsForEgg

ADULTS ONLY: use the super glue to seal the eggs, wipe off the excess glue, and follow the glue's instructions for how long to let them sit until glue is set.


superGlueEgg
Add glue at egg's seam.

While you wait, tear up small pieces of tissue paper in as many colors as you like.


TissuePaper_TornUp

Once the eggs are ready, use the sponges to dab Mod Podge onto part of the egg.


applyModPodgeToEgg

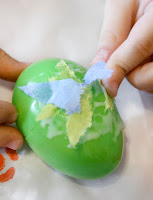
Apply the tissue paper, dabbing back over with the Mod Podge when necessary. This will probably take several layers of tissue paper, and I suggest letting eggs sit to dry after covering about half of it so the tissue paper doesn't start sticking all over your fingers as you go.


applyingTissuePaperToEgghalfCoveredEgg

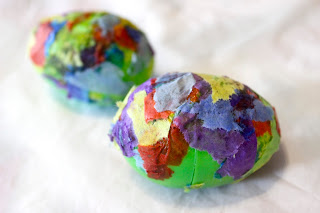
Mod Podge is a sealer as well as an adhesive, so once your egg is completely covered and dried, apply one last coat of Mod Podge. Let dry.


finishedEggShakers

Shake it up!


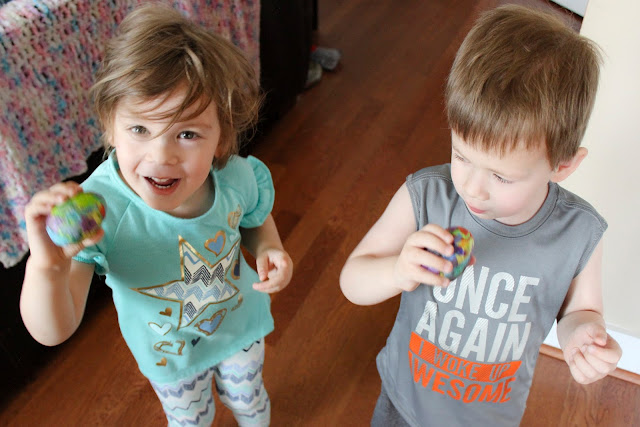
eggShaking_Henry
Henry explains the fun of the shake.

eggShaking_Winry
Winry prefers to shake with her egg.


shreddingPaper_peekingHenry


eggShaking_WinryAndHenry
Winry and Henry shaking eggs, April 2018


eggShaking_Henry

eggShaking_Winry